In this exercise we will learn to change foreground and background colour, how to add text using Text Tool, how to use the Gradiant Tool, how to fill a pattern with different colours, how to get a surface reflection for an image, how to use filters to get different effects.
Step 1. Choosing a background
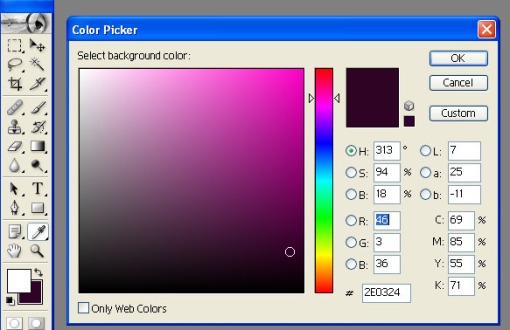
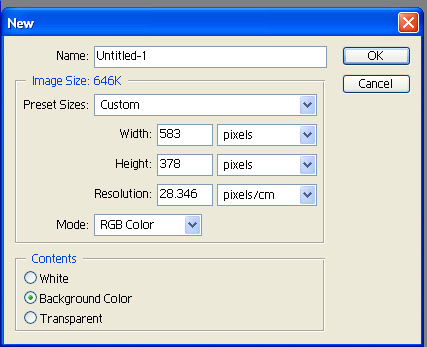
First click the background pattern on the Tools palette and choose the colour on the Colour Picker. We choose a dark purple (code 2E0324) as our background colour. Then open a new file using File>New or Ctrl+N, set the file content to background colour in the new file parameters panel.
Step 2. Typing and overlaping the letters
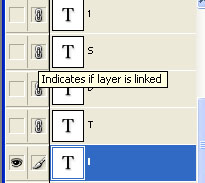
Now we use the Text tool on the Tool palette to add our text. We need to create a new layer for each of our letters. Using Layer>New or Shift+Ctrl+N to create a new layer. To place the text on same line, we use Move tool and select the first letter by Ctrl + Click on the first letter’s layer thumbnail in the layer palette, and click add link buttons of all the text layers on the layer palette, then click the ‘Align Bottom Edges’ button on the option bar. This will align all the letters in the same line as the first letter. Now deselect the first letter with Ctrl+D, use Move tool to move our individual letters to slightly overlap one another.

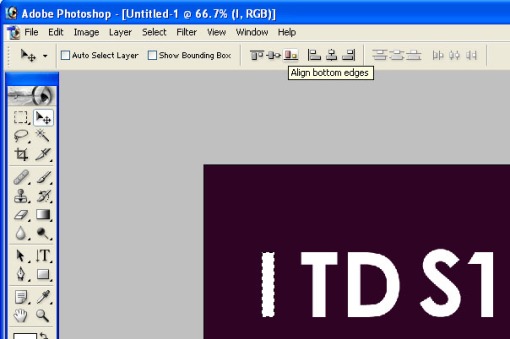

Step3. Adding a gradiant to your letters
Open a new layer using Shift+Ctrl+N and name this layer as gradiant layer. Click the gradient tool on the Tool palette and choose Linear Gradient and black to white. Drag the cursor from bottom to top and hold the shift key all the way, then we will get our gradient layer with a black to white gradient from the bottom to top.
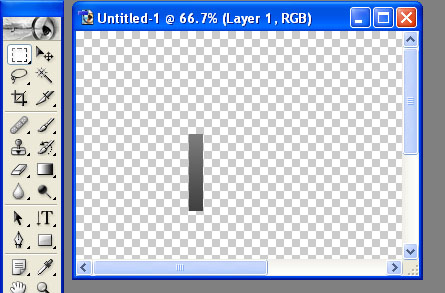
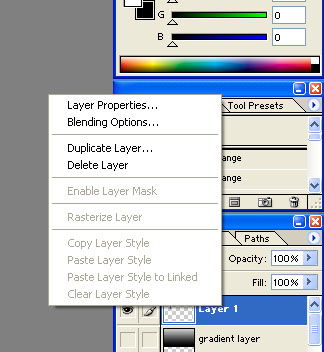
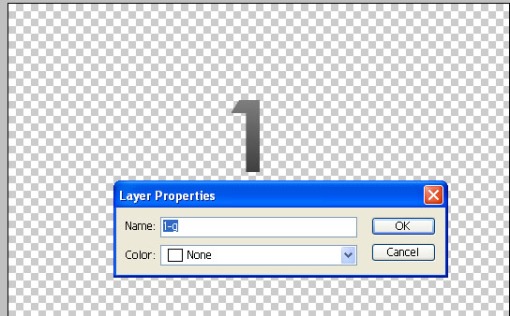
Ctrl+Click on the first letter’s layer and you get the selection of first letter’s shape. Now click the gardient layer, use Copy(Ctrl+C) and Paste (Ctrl+V) to cut off the gradiant letter and paste it to a new layer. Select the Layer Properties of the new layer and rename it to I-g. Repeat this process untill you get all your gradient letters. Now you can delete or hide all the text layers and the gradient layer.
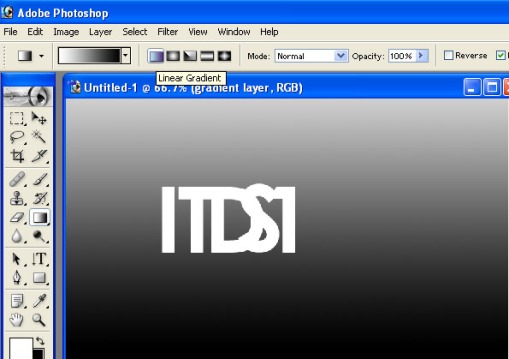
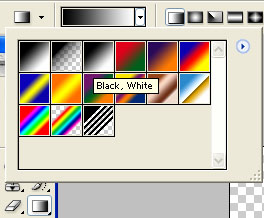
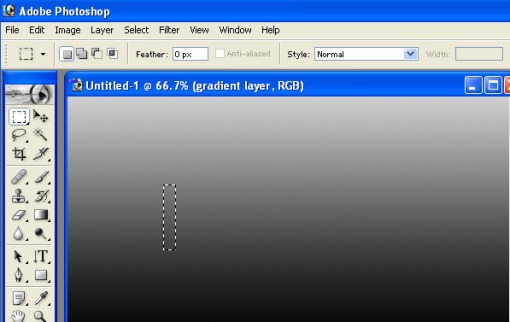

Step 4. Adding colours to your letters
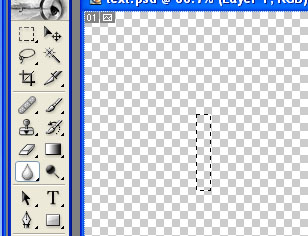
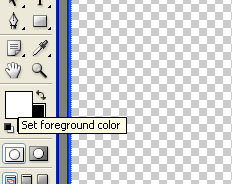
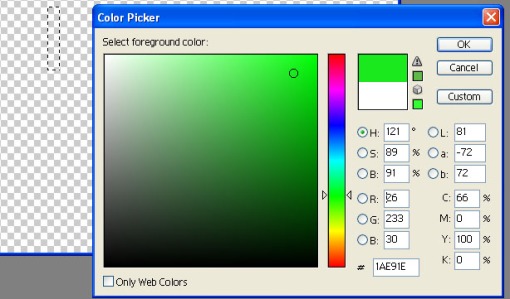
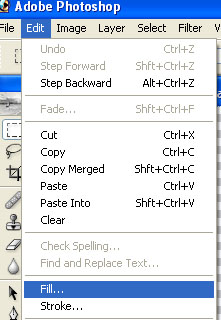
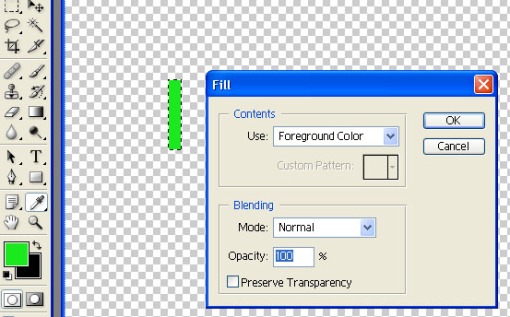
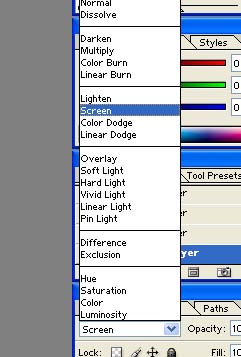
Create a new layer with Ctrl+Shift+N and select your first gradient letter’s shape (ctrl+click on the first letter’s layer thumbernail). Change the foreground colour of the new layer by click the set foreground colour button on Tool palette and choose a colour on the Colour Picker. Now use Edit>Fill to fill your selection with your new foreground colour. Rename the new colour letter layer with 1-c on the layer properties paneland change the layer blending mode to Screen. You will get your first colour letter. Repeat this process untill you get all your colour letters.

Step 5. Merge
First hide all layers except your gradient letter layers, use Shift+Ctrl+E to merge all the gradient letter layers together and name it ‘gradient letters’. Then hide all layers except colour letter layers, use Shift+Ctrl+E to merge all colour letter layers together and name it ‘colour letter layers’. Now we have three layers left, the gradient letter layer, the colour letter layer and background layer, this makes our layer palette clean.
Step 6. Getting the glow
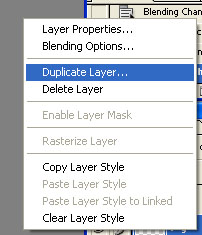
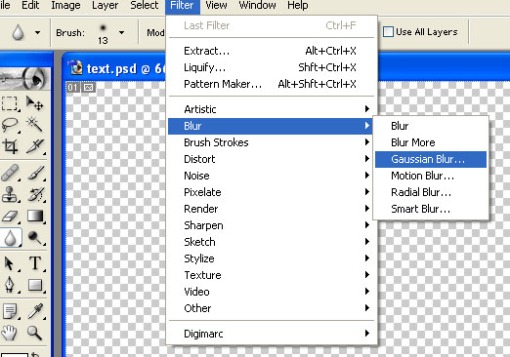
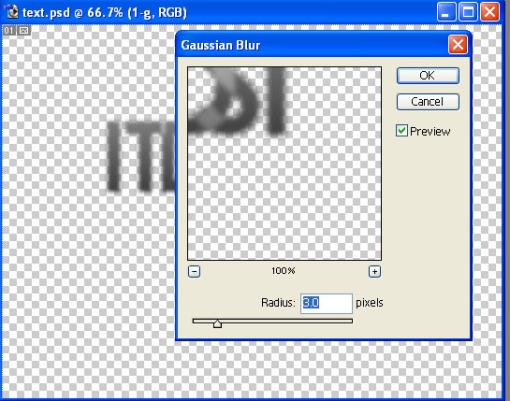
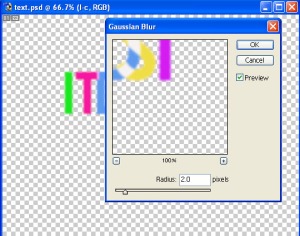
Duplicate the gradient letter layer and apply a Gaussian Blur with a value of 3 pixels on this layer by Filter>Blur>Gaussian Blur (layer blending mode is screen). Then duplicate the colour letter layer and apply a Gaussian Blur with a value of 2 pixels on this layer, the layer blending mode is also screen.


Step 7. Getting surface reflection
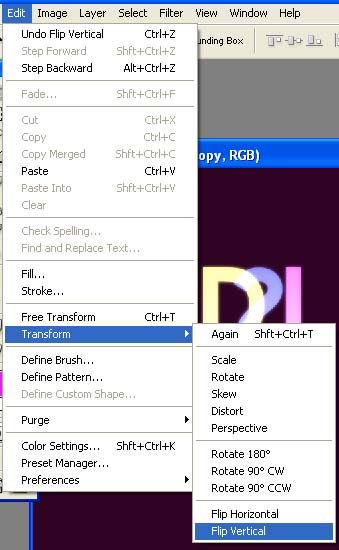
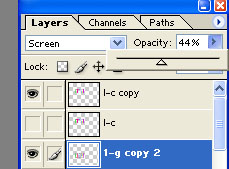
Select all the layers being used for text effect and merge them with Shift+Ctrl+E, and duplicate it. Flip the duplicate layer vertical with Edit>Transform>Flip Vertical, then set the opacity of the duplicate layer to a lower value as 44% in our case and use moving tool to move the reflection under the original text.

Now we get our colourful glowing text and there is reflection.
Step 8. Adjust as needed.
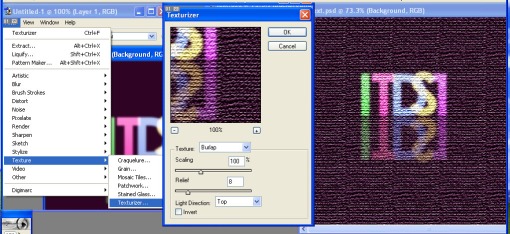
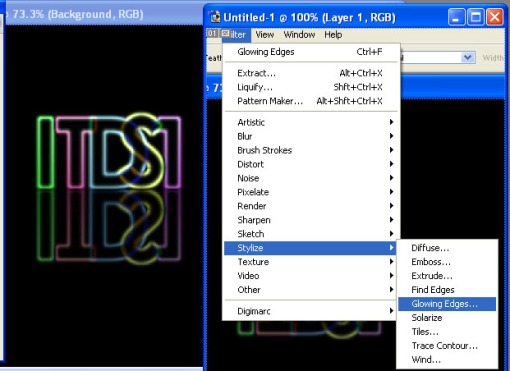
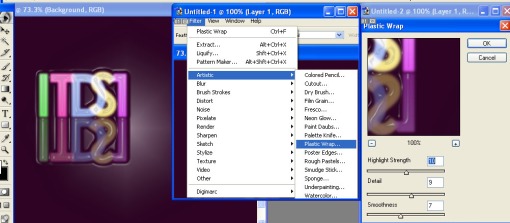
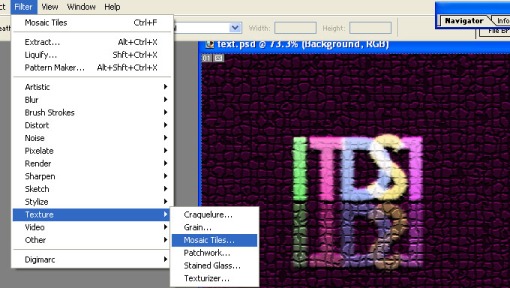
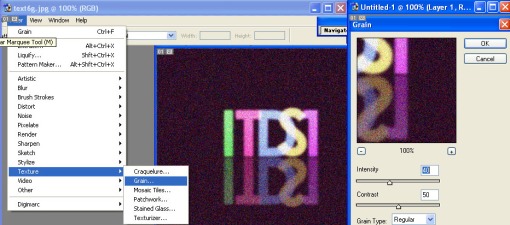
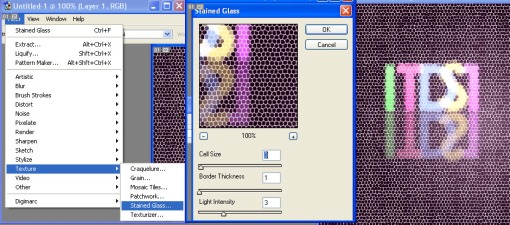
You can get more wonderful effects of your text using different selections in the Filter function. Below are some examples for your reference.
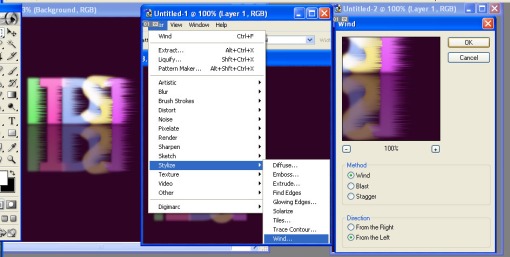
a. Filter>Stylize>Wind
b. Filter>Stylize>Glowing Edges
c. Filter>Artistic>Plastic Wrap
d. Filter>Texture>Mosaic Tiles
e. Filter>Texture>Grain
f. Filter>Texture>Stained Glass
f. Filter>Texture>Texturizer
